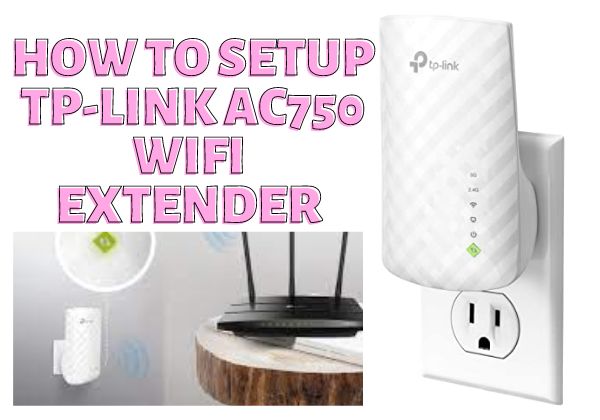
Are you struggling to get a good WiFi signal in some parts of your home or office? If so, you might need to invest in a WiFi range extender. In this article, we have prepared a detailed guide on TP-link AC750 WiFi Range Extender Setup. We’ll be using both the WPS and manual setup methods, so regardless of your experience level, you should be able to follow along. While configuring the TP Link AC 750 it is important that you should have idea about How Far Do Wifi Extenders Reach Let’s get started!
TP-link AC750 WiFi Range Extender Setup
You can configure the TP-Link AC750 with two methods: WPS or manual. If you want to use the WPS method, ensure your router supports WPS.
WPS method
The WPS method is the most straightforward way to set up the TP-Link AC750. If you want to set up your TP-Link AC750 WiFi Range Extender using the WPS method, please follow these steps:
1. Plug your TP-Link AC750 into an outlet near your router.
2. Look for the “WPS” (WiFi Protected Set-up) button on your router.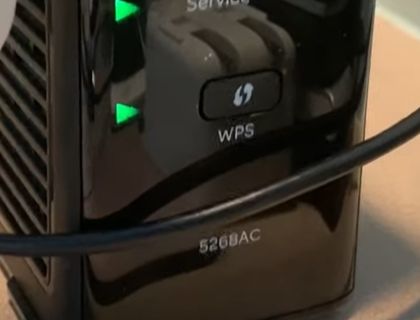
3. On your router, hold the “WPS” button for five seconds.
4. In about two minutes, press “WPS” on your wifi extender TP Link AC750.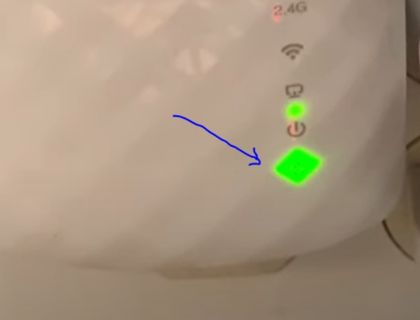
5. The lights on your TP-Link AC750 and router will turn green, indicating that the connection is successful.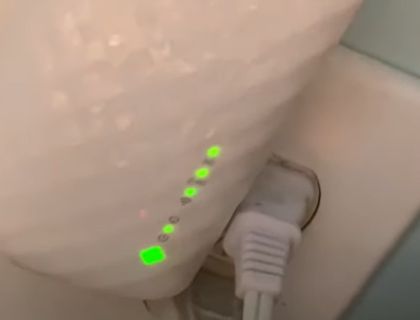
Manual method
If you want to set up your TP-Link AC750 WiFi Range Extender using the manual method, please follow these steps:
1. Plug your TP-Link AC750 into an outlet near your router.
2. On your computer or mobile device, connect to the TP-Link AC750’s default WiFi network: “TPLink_Extender_2.4GHz” or “TPLink_Extender_5GHz”.
3. Type the TP-Link AC750 default IP address in a web browser: “192.168.0.254“. You can confirm your default IP address of the Wifi extender, which is printed on the backside of the extender.
4. On the TP-Link AC750’s web management page, go to the “Network” section and select the “Wireless” sub-section.
5. Select the “Manual Wireless Connection Setup” option and enter your router’s SSID, password, and security mode.
6. To save your changes, click the “Apply” button.
7. The lights on your TP-Link AC750 and router will turn green, indicating that the connection is successful.
FAQs
How do I know if my tp-link AC750 is working?
The tp-link WiFi extender setup process is simple and easy to follow. Once you have completed the tp link extender setup, you can check if the tp-link WiFi extender is working by checking the lights on the tp-link WiFi extender.To indicate that the tp-link WiFi extender is functioning properly, it should flash a solid green light. Contact TP Link customer support if you have any issue about setting up your TP Link AC750.
How do I know if my TP-Link Extender is working?
To indicate that the TP-Link Extension is functioning properly, it should flash a solid green light. Moreover, you can verify it by accessing the web interface tplinkwifi.net. When setting up your Extender, go to www.tplinkrepeater .net or http://192.168 .0 254 and log in with the password created for this purpose during setup. Go to setting, and from there, you can check the status of your tp-link Extender.
Conclusion:
I hope this guide will show you how to set up the TP-Link AC750 WiFi Range Extension. Please feel free to leave a comment below if you have any questions. Thank you for reading!