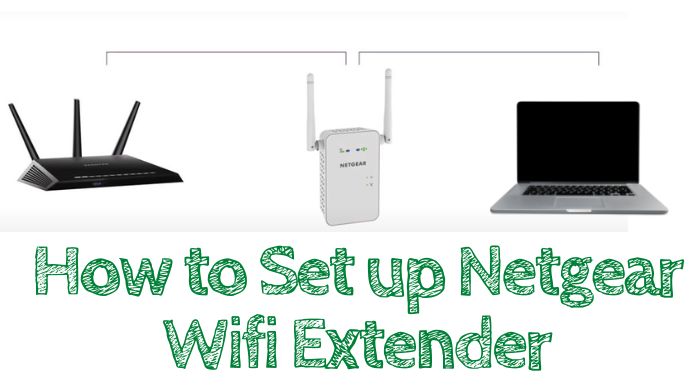
You’ve just bought a Netgear WiFi extender to boost the signal in your home, but how do you set it up? Most people don’t know how to set up a Netgear WiFi extender and give up before they even start. We’re here to help with our easy-to-follow guide on how to set up your Netgear WiFi extender.
How to Set up Netgear WiFi extender
Netgear offers a wide range of WiFi extenders, each designed for different needs. To choose the right one for your needs, you’ll need to consider the size of your home, the number of devices that will be connected to the extender, and your budget. You can check out the top wi-fi extenders for cox panoramic internet here.
How to identify the best spot for your Netgear WiFi extender
If you want to ensure the best possible performance for your Netgear WiFi extender, it is important to find the right spot for it in your home or office. The ideal location will be:
- Near the router: The closer your Netgear WiFi extender is to your router, the better it will be able to receive and amplify the signal.
- In a central location: The more centralized your Netgear WiFi extender is within the area you want to cover, the more evenly the signal will be distributed.
- Not surrounded by obstacles: If there are walls or other obstacles between your Netgear WiFi extender and the router or the area you want to cover, it will weaken the signal.
- Away from electronic devices: Cordless phones, microwaves, and other electronic devices can interfere with your Netgear WiFi extender’s signal, so it is best to keep them at least a few feet away.
Once you’ve chosen the suitable Netgear WiFi extender for your needs, you’ll need to set it up. There’s two main ways to do it: the WPS method or the manual method.
How to set up a Netgear WiFi extender using the WPS method
The WPS (WiFi Protected Setup) method is the easiest way to set up your Netgear WiFi extender. For WPS connection both devices that is router and wifi extender must have a WPS feature. To get started, unbox the product and plug it into any available outlet for seamless installation. It is recommended to install both devices in the same room as a router and extender.
First press the WPS button on the wifi extender.
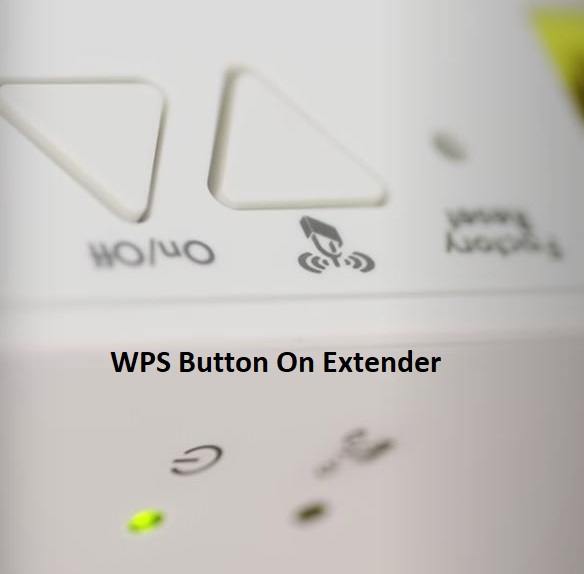
Then press the WPS button on the router. The light on wifi extender starts blinking, once the connection is complete the LED light turns solid green
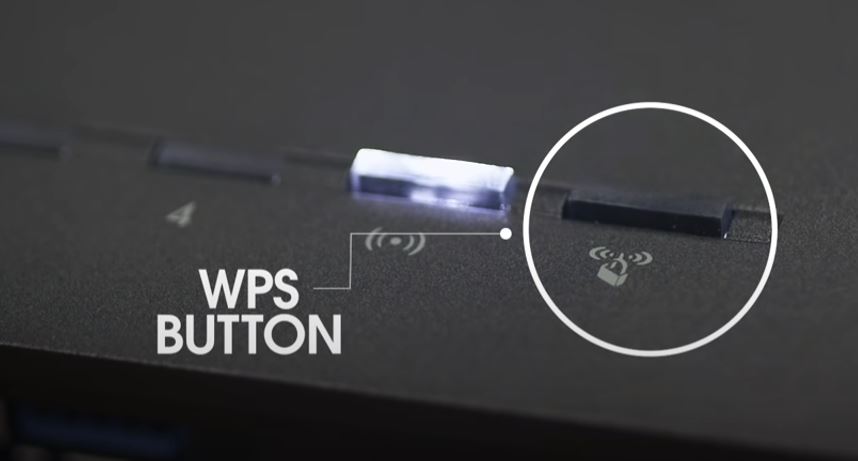
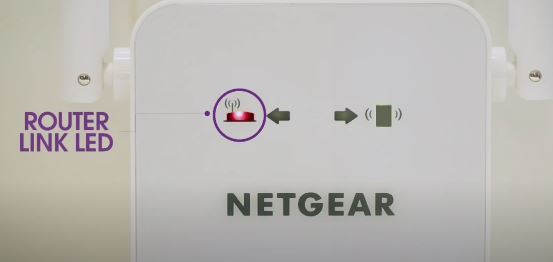
The two devices will automatically connect, and you’ll be ready to start using your extender. Now you can remove the wifi extender and can place it in your desired location. You can find the suitable distance between the extender and router from the LED of the extender if it is green it means that both devices are placed in a good range. But if you see a RED light it means you need to move the extender near the router. In such a case, your wifi extender may keep disconnecting.
Once Netgear wall plug AC WiFi range extenders are a quick and easy way to extend your current network. In just minutes, you can have an extended reach with no hassle. Now you can connect any client with your wifi extender, you will find the same SSID & password to connect as your wifi router have.
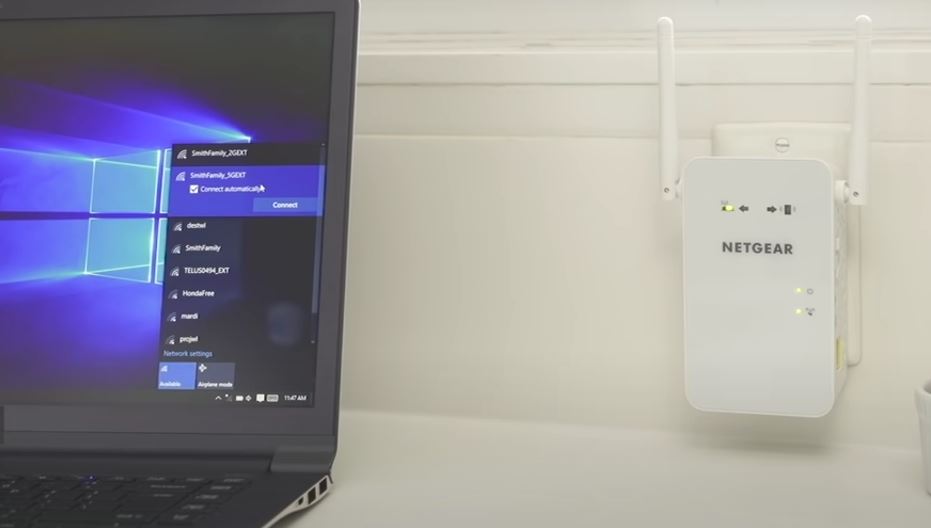
If you’re having trouble connecting your devices to the WiFi, check that they are in the range of an extender with a good signal. If both devices are too away from each other, in such case your wifi extender might get hot. Once connected and placed into dead zone territory, return once again for verification before completing setup procedures on either side!
Note:
You might have to wait for 2 to 3 minutes before your Netgear WiFi extender is ready. You’ll know it’s working properly when the green light turns on.
Set up Netgear WiFi extender using Web Interface:
If your router doesn’t have a WPS button, or if you’re having trouble connecting using the WPS method, you can always set up your Netgear WiFi extender manually. Log into your router’s settings to find the SSID and password. You can set up your WiFi extender using the manual method by connecting the ethernet cable with your PC or laptop.
For this method, you can follow these steps:
- Connect your WiFi extender with your laptop using an ethernet cable.
- Access the web interface of Netgear WiFi extender using its default IP (192.168.1.250) or www.mywifiext.net
- The Default IP address of the extender is printed on its back, and if you are accessing it with an IP address, then you need to
- Ensure that your PC has an IP address in the range of 192.168.1.x
- After you have accessed the web interface, you will be asked for your username and password.
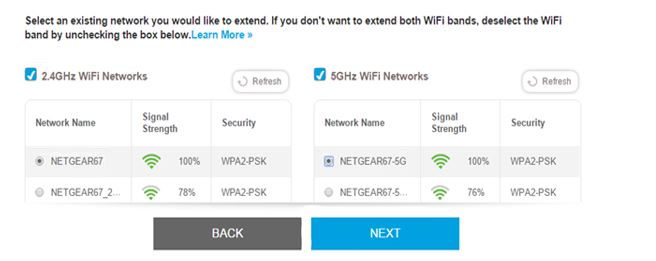
- Follow the setup wizard, and connect the WiFi extender with the WiFi router’s SSID.
Tips for getting the most out of your Netgear WiFi extender
Once you’ve successfully set up your Netgear WiFi extender, there are a few tips to keep in mind to get the most out of it.
- First, ensure your extender is placed in a central location in your home. This will ensure that it has the best possible connection to your router and can extend the signal throughout your home.
- Second, keep in mind that walls and other obstacles can impede the signal from your extender to your devices. If you’re having trouble getting a strong signal in certain areas of your home, try moving your extender to a different location.
- Finally, remember that you can always log into the settings of your Netgear WiFi extender to make changes or troubleshoot any problems you’re having. If you have any questions about how to set up or use your Netgear WiFi extender, be sure to consult the user manual or contact customer support.
Last Words:
Netgear is a well-known brand name in the networking industry. They have a large variety of network devices like switches and routers. Netgear wifi extender is one of the most popular networking devices. People always want to know how to set up a Netgear wifi extender. In this article, we have covered how to set up a Netgear wifi extender and we have shared two methods. You can try any method but the connecting router and wifi extender using the WPS method is quite easy. Thank you for coming here..!
